




UV DTF Printer Buying Guide: What to Know Before You Buy
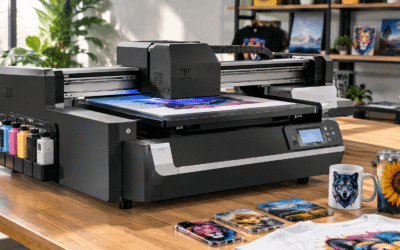
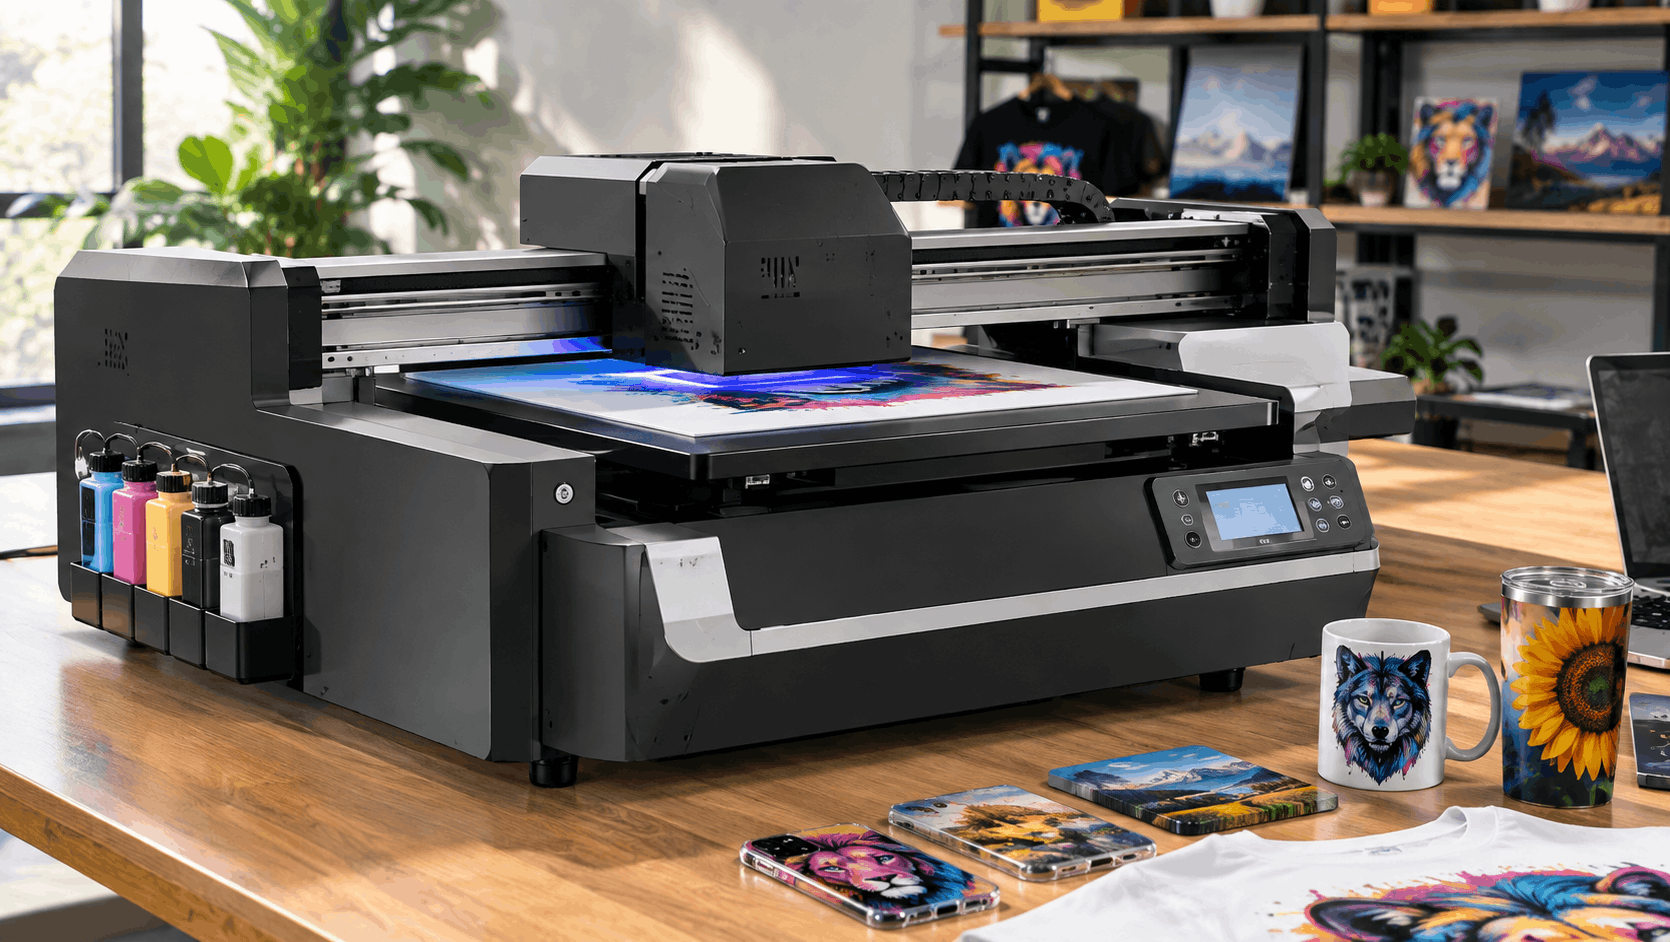
UV DTF Printer Buying Guide: Regular DTF prints onto a film, dusts it with powder, and then heat-presses the design onto fabric. UV DTF skips the heat and the powder. The machine prints onto a special film (usually called A film) using UV-curable inks, and a laminator presses a second transfer film (B film) on top. The UV light cures the ink as it prints. You then cut the sticker out, stick it to a hard surface, and peel the top film away.
The result is a crystal-clear, slightly raised decal that bonds to the surface. Because it’s built from layers that can include color, white, and a glossy varnish, it can look almost like a printed-on finish. The ink side is essentially inkjet printing with a UV-cured chemistry, which is why the printhead and ink setup matter so much.
What tends to surprise people is how much of the “printer” is really a workflow. The printer, the laminator, the film, and the software all have to cooperate, and the weakest link decides your results.
What you can make with it
The sweet spot is hard, smooth items. Think stainless steel tumblers, glass jars, acrylic keychains, phone cases, wooden boxes, ceramic mugs, and metal signs. Curved surfaces are where UV DTF shines compared with a flat direct printer, because you don’t need a rotary attachment or a machine that holds the object still while it prints.
It’s a poor fit for fabric. If your business is T-shirts and hoodies, regular DTF or direct-to-garment printing is the better tool, and buying a UV machine for shirts is a mistake I see beginners make more often than any other.
Durability deserves a straight word. These decals hold up well for daily handling, but most sellers advise against dishwashers and harsh abrasion, and I’d treat that advice as a rule. If you sell drinkware, put a care note in the package. It saves returns.
Choosing a uv dtf printer: the specs that matter
Printheads and print width
Most desktop and mid-range machines use Epson printheads, and the specific head (for example i1600 or i3200 families) affects speed and how many heads the machine can run. More heads generally means faster output and a higher price. Width matters just as much. A roughly A3-sized machine handles small items and keychains fine, while a 24-inch-class printer lets you gang several designs on one sheet and produce for volume.
In my experience, new sellers overbuy width and underbuy support. A wider printer that sits idle costs you more than a smaller one that runs daily.
The all-in-one question
Some machines bundle printing and lamination in a single unit. Others need a separate laminator. Integrated models save space and usually reduce alignment headaches, but when one part fails, the whole workflow stops. Separate units are easier to repair or replace piece by piece, at the cost of a slightly clumsier process.
I lean toward all-in-one for beginners. Fewer moving parts to line up means fewer wasted films while you learn.
Ink, film, and software
Ask what inks the machine expects and whether you can use third-party ones without voiding support. Film quality varies a lot, and cheap film is a top cause of bubbles, poor peel, and decals that lift at the edges. Then check the RIP software, since it controls color, white and varnish layers, and the mirroring that makes these transfers work. A printer with mediocre software is a slower printer, no matter how impressive the hardware looks.
What it costs (and what people forget to budget)
Prices vary widely by brand and market, and they change often, so check current listings before you decide. As one reference point, a dedicated professional unit like the Mimaki UJV300DTF-75 was listed by a US reseller at $29,995 as of September 2026. Lower-cost machines from many other manufacturers sell for far less, but I couldn’t verify specific prices across them, so treat any number you see as a starting point for your own research.
The purchase price is only the beginning. Budget for ink, film (both A and B), replacement printheads, cleaning supplies, a maintenance routine, and software or RIP licenses if they aren’t included. Waste is the hidden cost. Your first few weeks will burn film while you dial in alignment, lamination pressure, and cutting.
One thing worth flagging: UV ink heads clog if they sit unused. If you’ll print only a couple of times a month, a UV printer is a frustrating machine to own.
A realistic setup, from box to first sticker
If you’ve never run one, this is roughly the path most beginners follow.
- Set up the printer in a stable, dust-free spot with good ventilation and no direct sunlight.
- Load the inks and run the initial charging and nozzle checks.
- Load A film, print a small test with color, white, and varnish layers.
- Laminate B film over it with even pressure to avoid bubbles.
- Cut the design (by hand for simple shapes, with a cutter for repeat work).
- Apply it to a clean, dry, oil-free surface, press firmly, and peel the top film slowly.
The most common failure is a dirty surface. Wipe items with isopropyl alcohol first. Oils from fingertips are enough to make a decal lift a week later.
Who should buy one, and who should skip
Buy one if you already sell or plan to sell personalized hard goods, especially drinkware, gifts, and small branded items. It’s also a strong add-on for a shop that already has a cutter and does short runs. Margins on custom products can be good, but only when you have steady orders to keep the machine running.
Skip it if you mainly print apparel, if you have very low volume, or if you don’t have space and ventilation for ink and film handling. Also skip it if you expect zero learning curve. It’s approachable, but it isn’t plug-and-play.
Alternatives worth comparing
A dye-sublimation printer is a cheaper way to decorate polyester items and specially coated mugs, though it needs heat and coated blanks. A direct UV flatbed prints straight onto objects without a transfer step, which is cleaner for flat items but costs more and handles curved surfaces less easily. Outsourcing UV DTF transfers from a supplier lets you test demand with no equipment.
If you’re unsure, I’d try the outsourcing route first. Order a few dozen transfers, apply them, and see whether customers actually buy. Then you’ll know whether owning a machine makes sense.
Common mistakes new buyers make
Buying on price alone is number one. The cheapest machines often come with thin support, and when a printhead or a board fails, you’re stuck. Ask about spare parts, warranty terms, and whether there’s English-language support before you pay.
Another mistake is ignoring the room. UV inks give off odors, and a small unventilated space is a bad idea. Follow the manufacturer’s safety guidance on handling and storage.
And finally, expecting instant results. Your first prints probably won’t match the marketing photos. Give yourself a couple of weeks of practice on scrap items.